Due to the complexity of medical animation production, I do these projects as a team.
We service clients across a broad array of industries, from medical marketing and communication to educational organizations, from biotech companies to medical device companies, and more.
The services we provide in this regard:
- 3D Medical Animation
- 3D Visualization
- AI-assisted visualization
- Motion Graphics
- VR Application
Medical Animation
PROCESS OF MY PRODUCTION
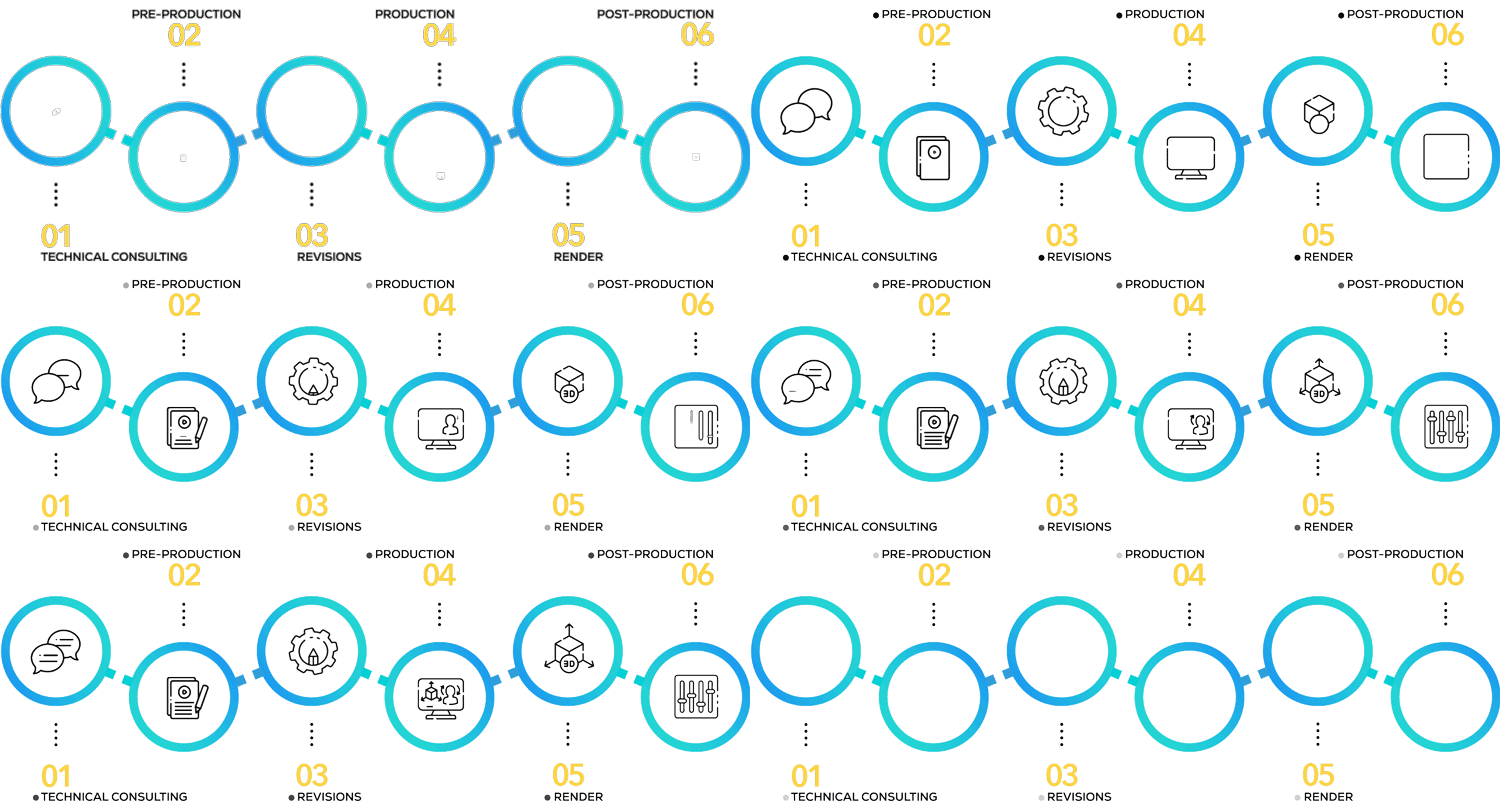
1 – TECHNICAL CONSULTING
Due to the fact that all our clients may not have the correct technical information about 3D animations, our technical consultants talked with them in detail before signing the contract and solved their possible questions and in some cases after explaining the capabilities Our technicians give clients new ideas.
2 – PREPRODUCTION
A) Scripting – It is impossible to create a great science video without writing a superb science script first. At this stage, several truly fundamental decisions about the future of video should be made. What words will be spoken? In what tone? What will happen on the screen? You may be tempted to try it yourself. After all, who knows your business and your science better than you do?
The script is the foundation of your future video’s success. Everything else is built on it and, therefore, it is vital to approach the issue of the script responsibly and thoroughly from the very beginning.
B) Storyboarding – after scripting, it is time to create storyboards. This helps ensure that the graphics match the brand and the messages defined in the script. This is a much more tangible way to visualize a project as it moves forward.
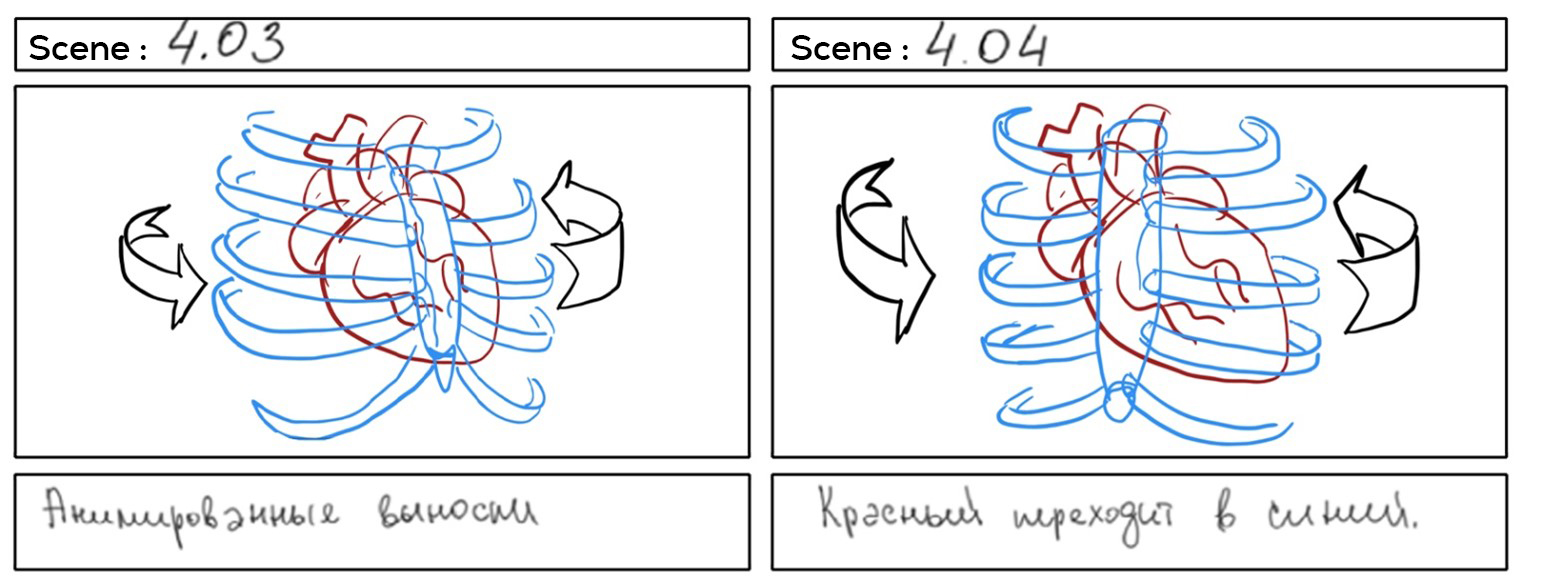
creating and reviewing storyboards in this way will also help to evaluate the clarity of your storyline.
C) Voiceover – Using voice acting helps to put the video together, provides the viewer with important sound signals, and enhances key messages. We usually recommend that you use a professional narrator with experience in recording medical dubbing to avoid several stages of re-dubbing and the associated increase in budget. Recording a good voiceover is harder than you might think! Our clients often ask what they should consider when choosing an artist for voiceover.
Do not ruin all your work with an unprofessional voiceover. Indeed, the high-quality narration is 40% of the success of your project!
3 – REVISIONS
After the post-production phase, our customers have the right to submit all their amendments in writing to us once in detail.
After all revisions are made, if the client has a new revision, it will require a fee.
4 – PRODUCTION
The production process is also divided into several stages.
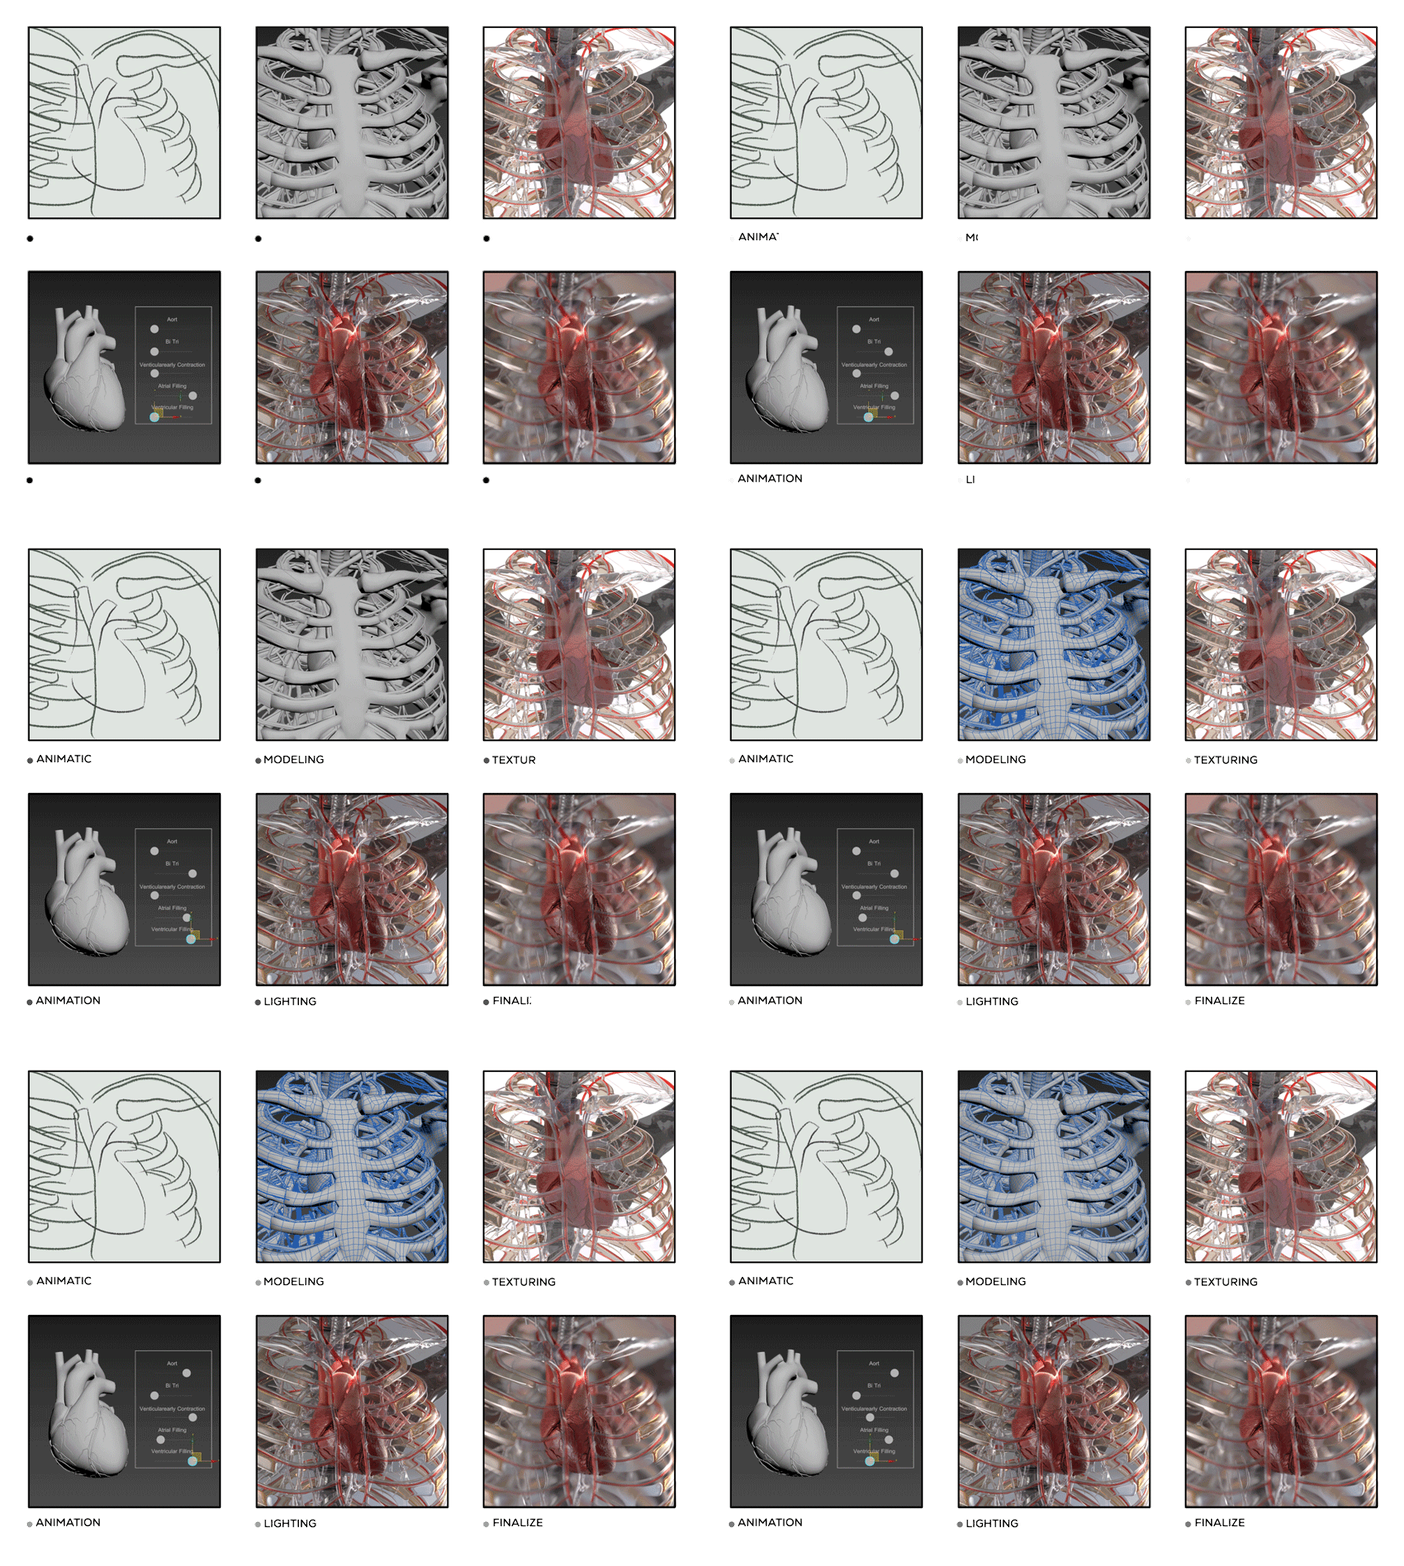
A) Animatic – In this step, we create a preliminary animation. First of all, an animatic is created – simplified animated layouts created to get a better idea of the range of movements and the time taken to complete them in the video. They help the animator plan the sequence and integrate visual effects into frames.
B) Modeling – After the Animatic is approved, the next task begins – modeling, in which all the objects of the movie are built. At the modeling stage, resources for animation are created in 3D.
C) Texturing – It means giving a structure to 3D models’ surfaces. When creating a 3D model, 2D images are superimposed on their planes to add colors, patterns, and textures. This is called UV mapping, and often, it is used to create the overall coloring of the model. Plus, specific properties are added, such as gloss, transparency, glow, reflectivity, etc.
D) Animation – At this stage, the process of moving 3D objects and their parts is formed. Here the animator manages objects frame by frame.
Animation is the most critical and time-consuming part of the production process. In the video, the most important is the smoothness of the movement and its expressiveness.
E) Lighting – Lighting is incredibly important to create realism and appeal. Lousy light can blur the scene, change the look of the subject, and ruin all the hard work. Lighting allows us to control the appearance of shadows and highlights.
F) Finalize – After adjusting the light and layout, we need to finalize everything for rendering. In the last stage, a series of special visual effects will be applied, which will create a cinematic appeal. Things like depth and field, particle systems, and VFX.
5 – Rendering
Rendering is the process of creating a sequence of flat images (video) based on the developed 3D scene. In other words, obtaining photographic images by calculating the lighting (i.e., creating shadows, reflections, and refractions of light, applying glare) and its effect on objects, makes them more realistic.

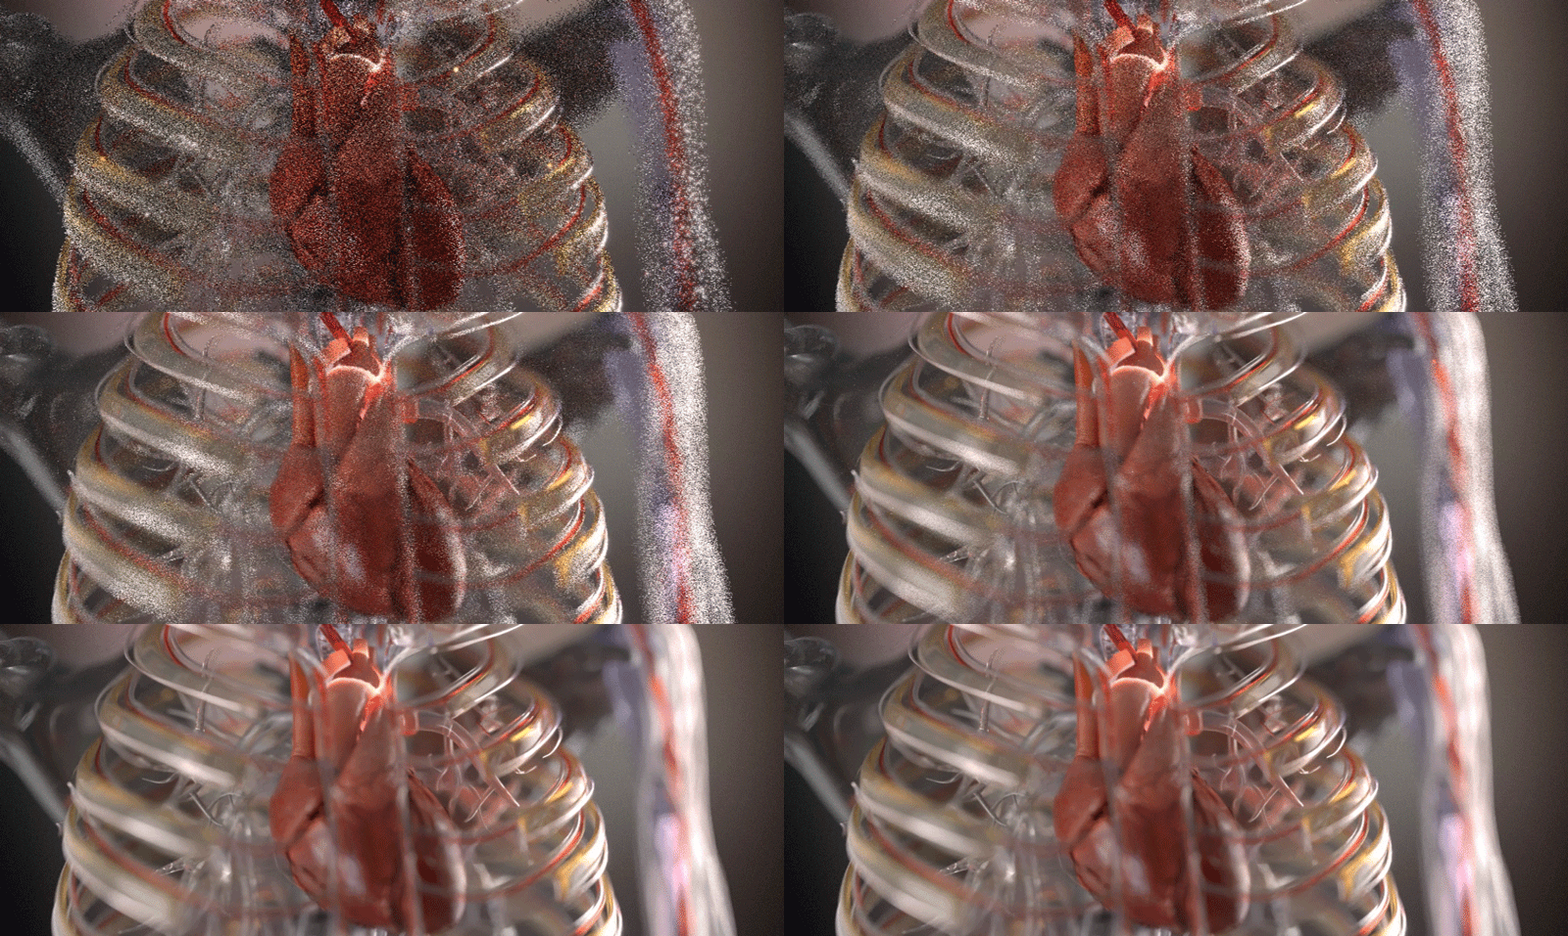
- Rendering process
6 – Post-production
A) Music & sound FX – Correct background music is also crucial. This will help you build up the right mood and atmosphere for your video. Perhaps, we do not always consciously think about it, but music dictates the mood.
B) Editing, color-grading, and compositing – In this part, our images will be retouched. The colors and lights will be adjusted by our most tasteful editors, and as a result, we will deliver the best possible output to the clients.
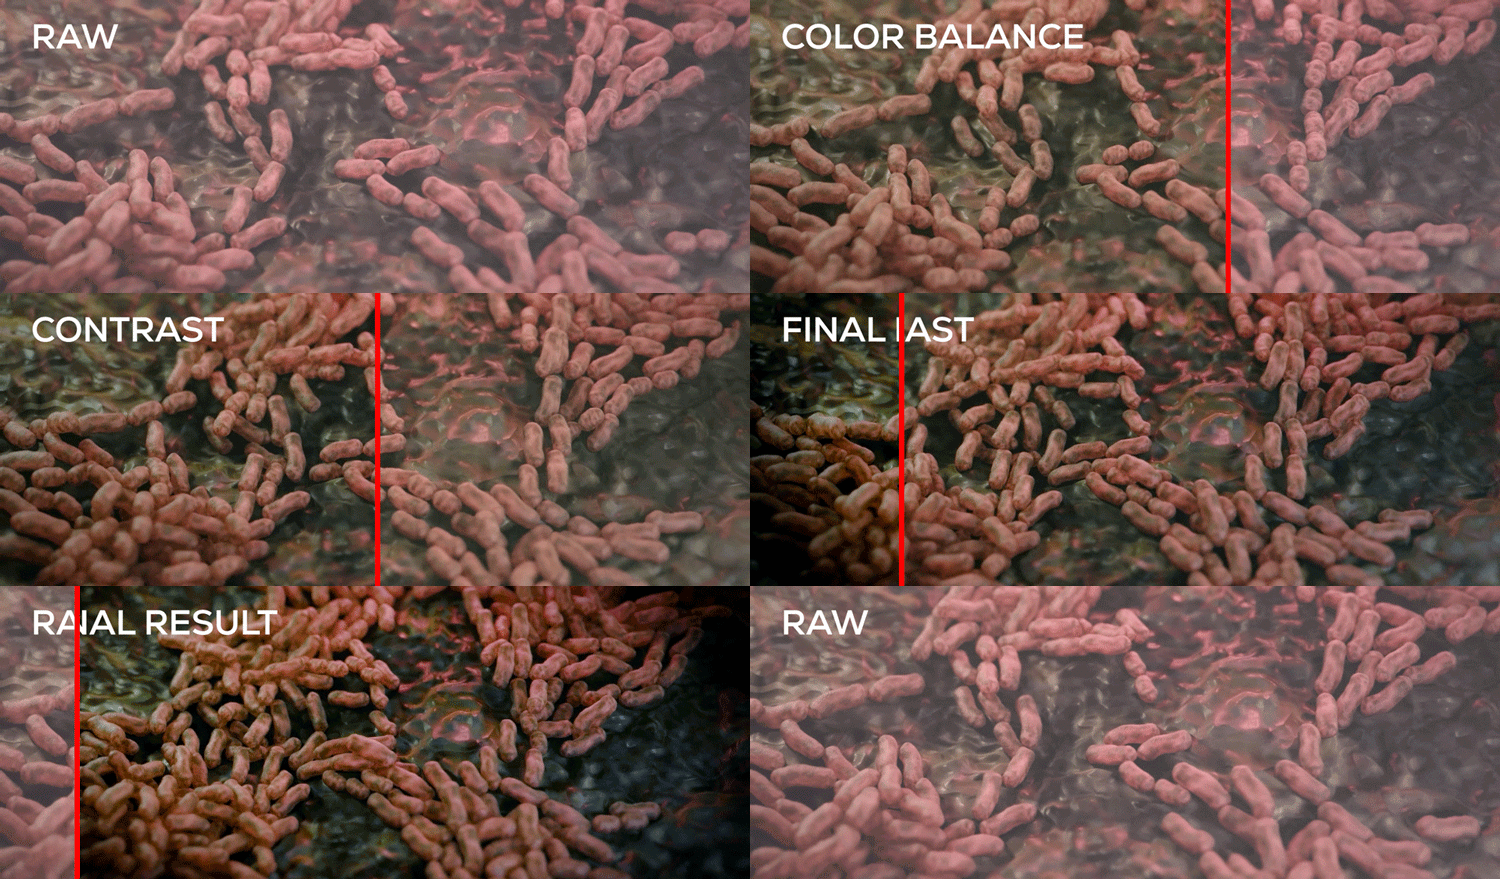
- Color-grading